Load existing code on a new server
The Load existing code on a new server option is for when you already have code you wish to ship on Shipnix.
There are two supported use-cases.
1. Import a project that already works with Shipnix
When you already have a nixos folder and a flake.nix in your project root that works with Shipnix, this is the alternative for you.
After provisioning the “Load existing code” server, do the following:
- In your code, make sure you have a NixOS configuration that corresponds with your server name given by Shipnix.
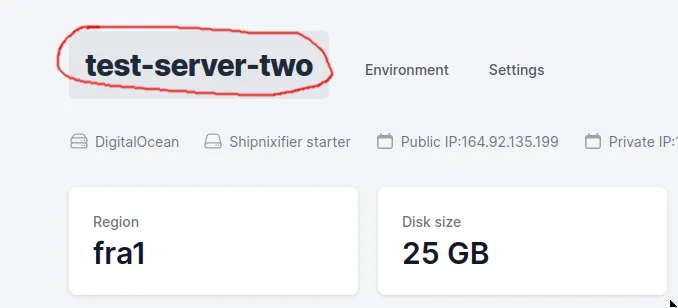
Note that the name text-server-two needs to be present
{
  description = "NixOS configuration";
  inputs = {
    nixpkgs.url = "nixpkgs/nixos-22.05";
    nixpkgs-unstable.url = "nixpkgs/nixos-unstable";
  };
  outputs =
    { self
    , nixpkgs
    , nixpkgs-unstable
    } @attrs:
    let
      ...
    in
    {
      nixosConfigurations."test-server-one" = nixpkgs.lib.nixosSystem {
        inherit system;
        specialArgs = attrs // {
          environment = "production";
        };
        modules = [
          # Overlays-module makes "pkgs.unstable" available in configuration.nix
          ({ config, pkgs, ... }: {
            nixpkgs.overlays = [ overlay-unstable ];
          })
          ./nixos/configuration.nix
        ];
      };
+     nixosConfigurations."test-server-two" = nixpkgs.lib.nixosSystem {
+       inherit system;
+       specialArgs = attrs // {
+         environment = "stage";
+       };
+       modules = [
+         # Overlays-module makes "pkgs.unstable" available in configuration.nix
+         ({ config, pkgs, ... }: {
+           nixpkgs.overlays = [ overlay-unstable ];
+         })
+         ./nixos/configuration.nix
+       ];
+     };
+   };

}
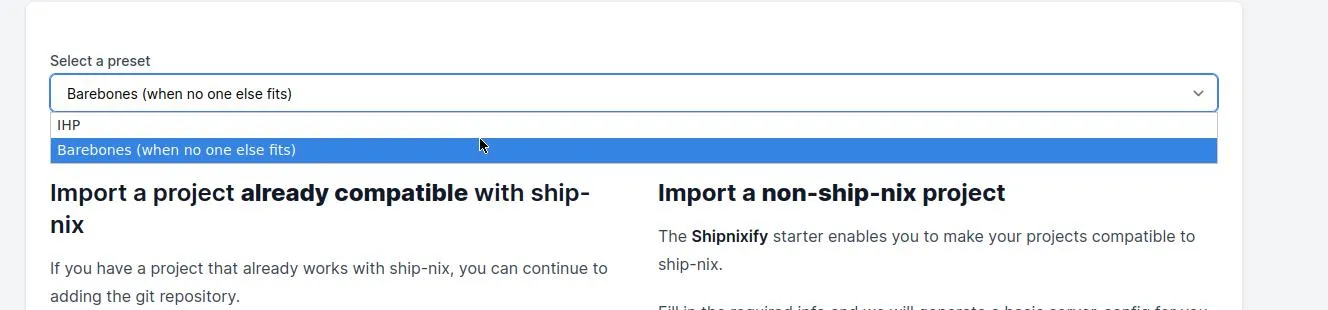
- Select your preset so Shipnix can make as good preparations as possible for provisioning (binary caches, databases etc)
- Follow the guide to add Git and deploy keys
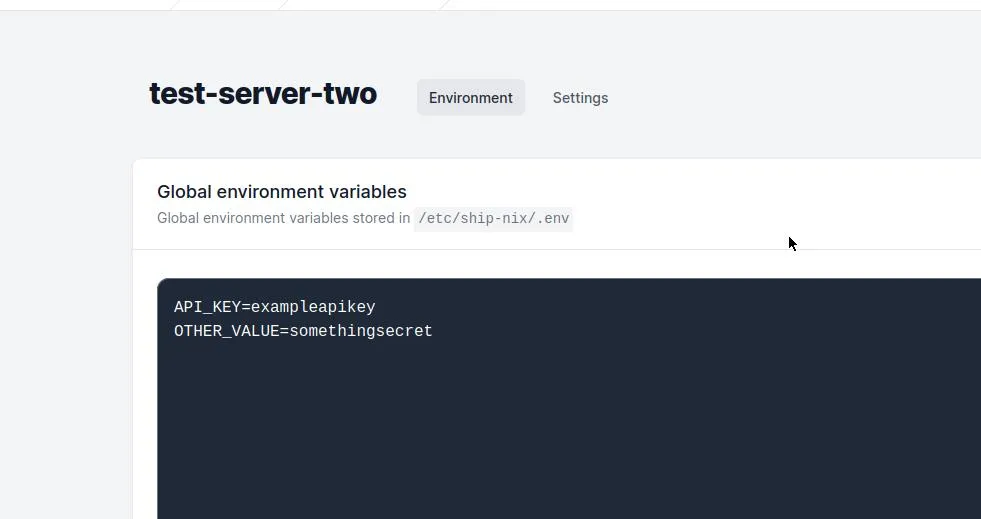
- Check your environment variables and make sure they are correct
- Deploy

If something went wrong, just adjust accordingly and try again.
2. Shipnixify a project without Shipnix config
You can turn a non-Shipnix project into a Shipnix project with a bit of additional work.
After provisioning the server, do the following:
- Select your preset so Shipnix can make as good preparations as possible for provisioning (binary caches, databases etc)
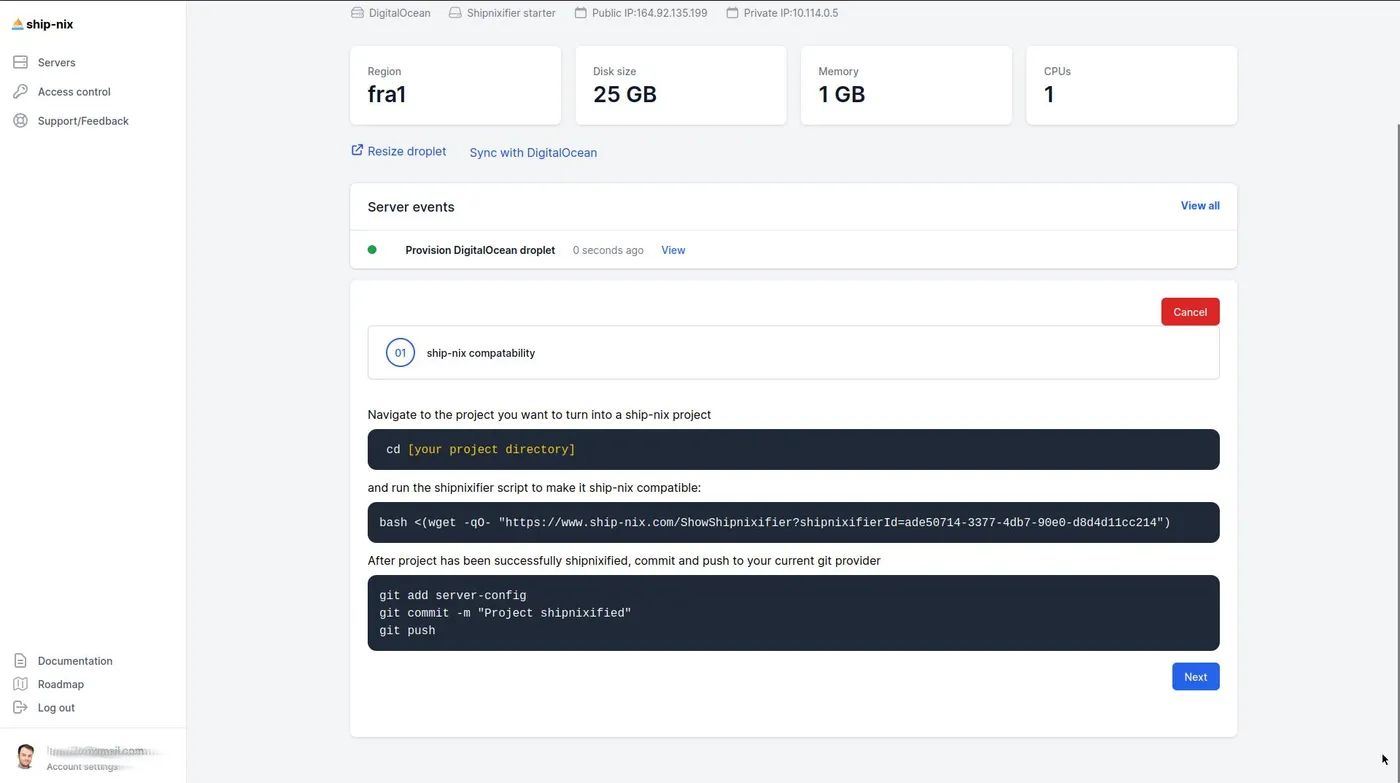
- Click
Generate shipnixifier

- Follow the instruction on your local machine to add the generated Shipnix config
- Follow the guide to add Git and deploy keys
- Check your environment variables and make sure they are correct
- Deploy